
What should you do first?
Confirm that the QC set matches your exact product and variant, then check overall condition before zooming into category-specific details. If a detail could change your decision but is hidden, ask for that exact angle or measurement instead of assuming it is fine.
Quality-control photos are warehouse evidence, not product advertising. They can reveal the condition and visible details of a received item, but only when the photo shows the exact feature you need to judge. A clear overall photo does not replace a ruler photo, label close-up or view of the base.
The most useful question is not “does this look good?” It is “do these images answer the risks that matter for this product?” Use the same inspection order every time so an attractive first impression does not hide missing evidence.
Prepare before the item reaches the warehouse
A reliable Superbuy QC photo check begins before the warehouse images appear. Save the product title, selected color, selected size, quantity, size chart and any included accessories shown on the live listing. If one visible feature would make you reject the item—such as a missing strap, shifted graphic, damaged sole or wrong color—write it down before seeing the photos.
Create a short reference record with five fields:
| Field | What to save | Why it matters later |
|---|---|---|
| Product | Listing title and current URL | Prevents reviewing the wrong or changed listing |
| Variant | Color, size, model and quantity | Gives the warehouse photos a factual match test |
| Measurements | Seller chart and your target dimensions | Makes ruler photos useful instead of decorative |
| Included parts | Laces, straps, tags, cases or accessories | Helps identify an incomplete arrival |
| Stop conditions | Two or three visible issues you would not accept | Prevents an excited approval from lowering your standard |
Do not rely on memory or the product thumbnail alone. Listings can change, options can look similar and a warehouse photo may not show the order text beside the item. Your saved reference is the baseline for deciding whether the received product matches what you intended to buy.
What QC photos can tell you
QC photos can help confirm visible color, quantity, general shape, obvious damage, print placement, stitching, labels and measurements when a ruler is shown. They also help identify a clear mismatch between the advertised product and the item received at a warehouse.
Before inspecting details, confirm four basics:
- The photo set belongs to the correct order or product record.
- The color and visible variant match your selection.
- The quantity and included pieces appear correct.
- The photos are large and well lit enough for the intended check.
If any basic point fails, stop. Zooming into stitching on the wrong color or size does not improve the decision.
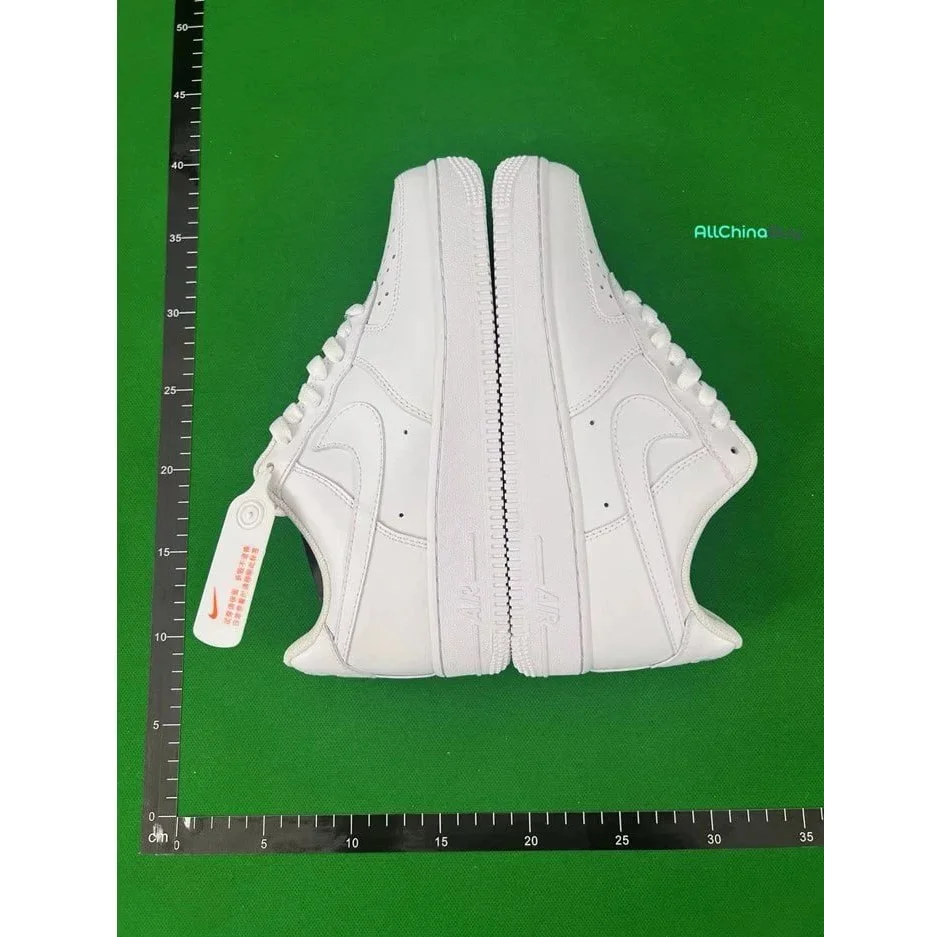
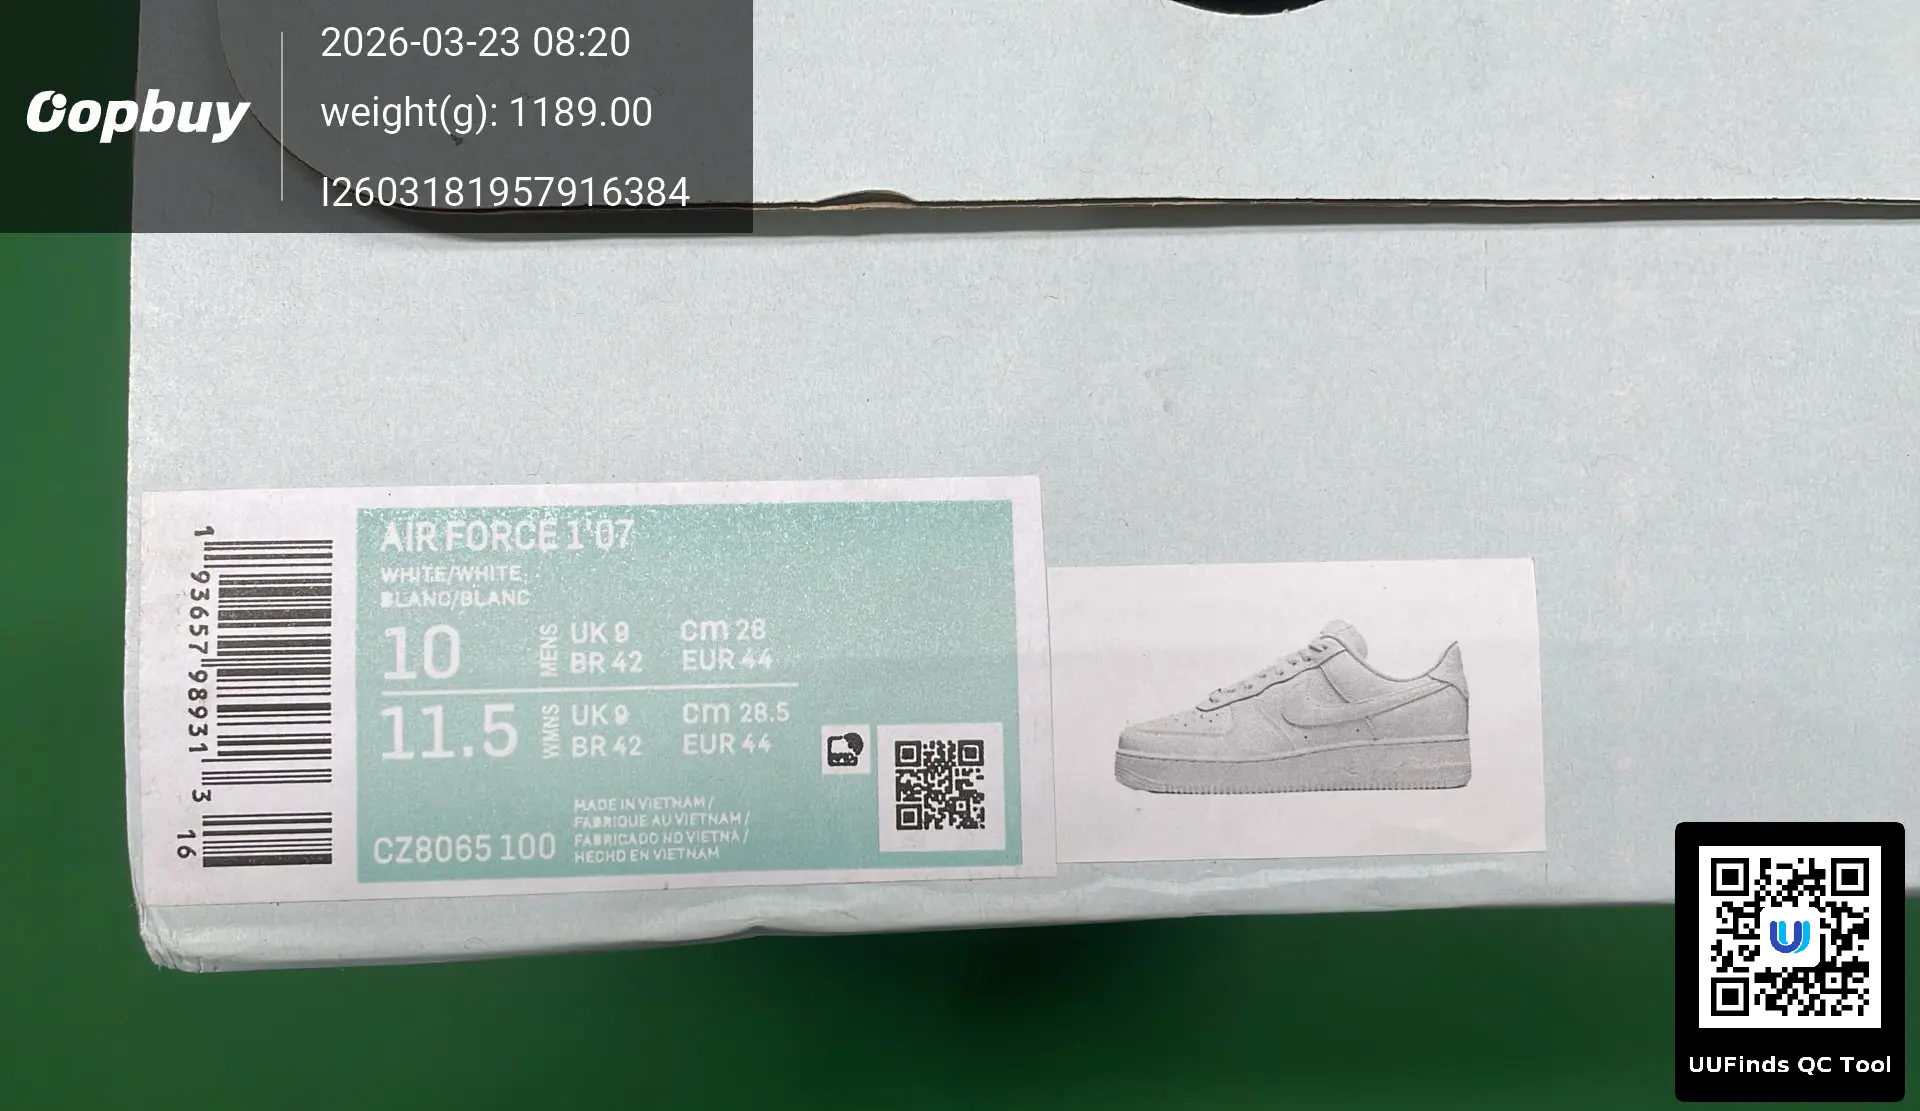
Why the pair matters: the clean product image explains the intended appearance; the warehouse photo is the evidence you use for a visible-condition decision. Neither image proves authenticity or long-term performance.
Use a five-pass inspection
Review the images in the same order for every product. This creates a repeatable process and reduces the chance of focusing on one eye-catching detail.
| Pass | Question | Useful evidence |
|---|---|---|
| 1. Match | Is this the ordered product and variant? | Color, size label, option label, quantity |
| 2. Condition | Is there obvious damage or contamination? | Full front, back, sides and packaging |
| 3. Construction | Are visible parts aligned and attached? | Seams, sole edges, handles, zippers, print edges |
| 4. Measurement | Does it match the dimensions you need? | Ruler or tape placed on the actual item |
| 5. Decision | Is anything important still hidden? | Specific extra angle or close-up request |
Avoid treating low resolution as a pass. “I cannot see a defect” is different from “the photo clearly shows that area.” Record uncertain details explicitly.
Shoes QC checklist
Start with the pair as a whole. Compare the left and right shoe for height, toe shape and panel alignment. Then inspect the heel, sole edge, stitching and visible glue. A slightly different camera angle can make shoes look asymmetrical, so look for repeated differences across more than one view.
Check the following evidence:
- Both shoes together from above and from the back.
- Lateral and medial sides when panel construction matters.
- Toe-box shape and symmetry.
- Heel alignment and visible rear stitching.
- Sole attachment, outsole pattern and obvious separation.
- Size label and selected color.
- Insole or outsole measurement when fit depends on length.
- Box condition only if keeping the original box is important.
Do not infer fit from the printed size alone. Sizing systems vary, and the label may not describe the usable inside length. Compare an available insole measurement with footwear you already wear.
Hoodies, T-shirts, jackets and pants
For clothing, the most decision-critical QC image is often a measurement photo rather than a close-up logo shot. Compare actual garment width and length with a known item that fits. A size label is supporting evidence, not a measurement.
Review the front and back laid as flat as possible. Check seams, collar or hood shape, cuff condition, zipper alignment and fabric surface. For printed or embroidered pieces, inspect placement, edges, missing areas and obvious marks. Lighting can change dark colors, so use several photos before calling a shade mismatch.
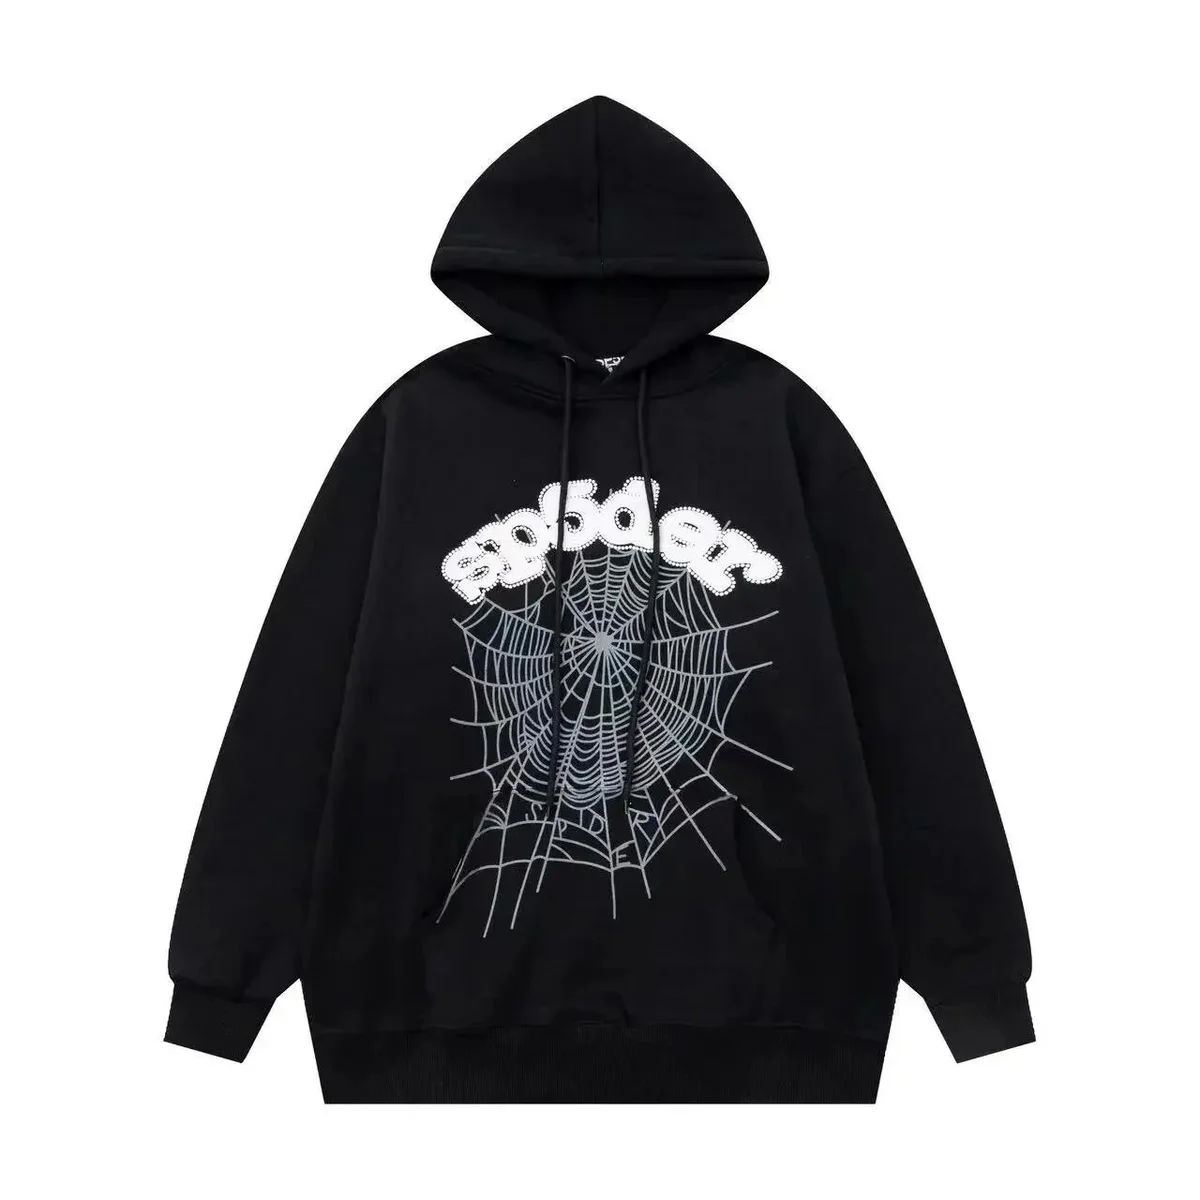
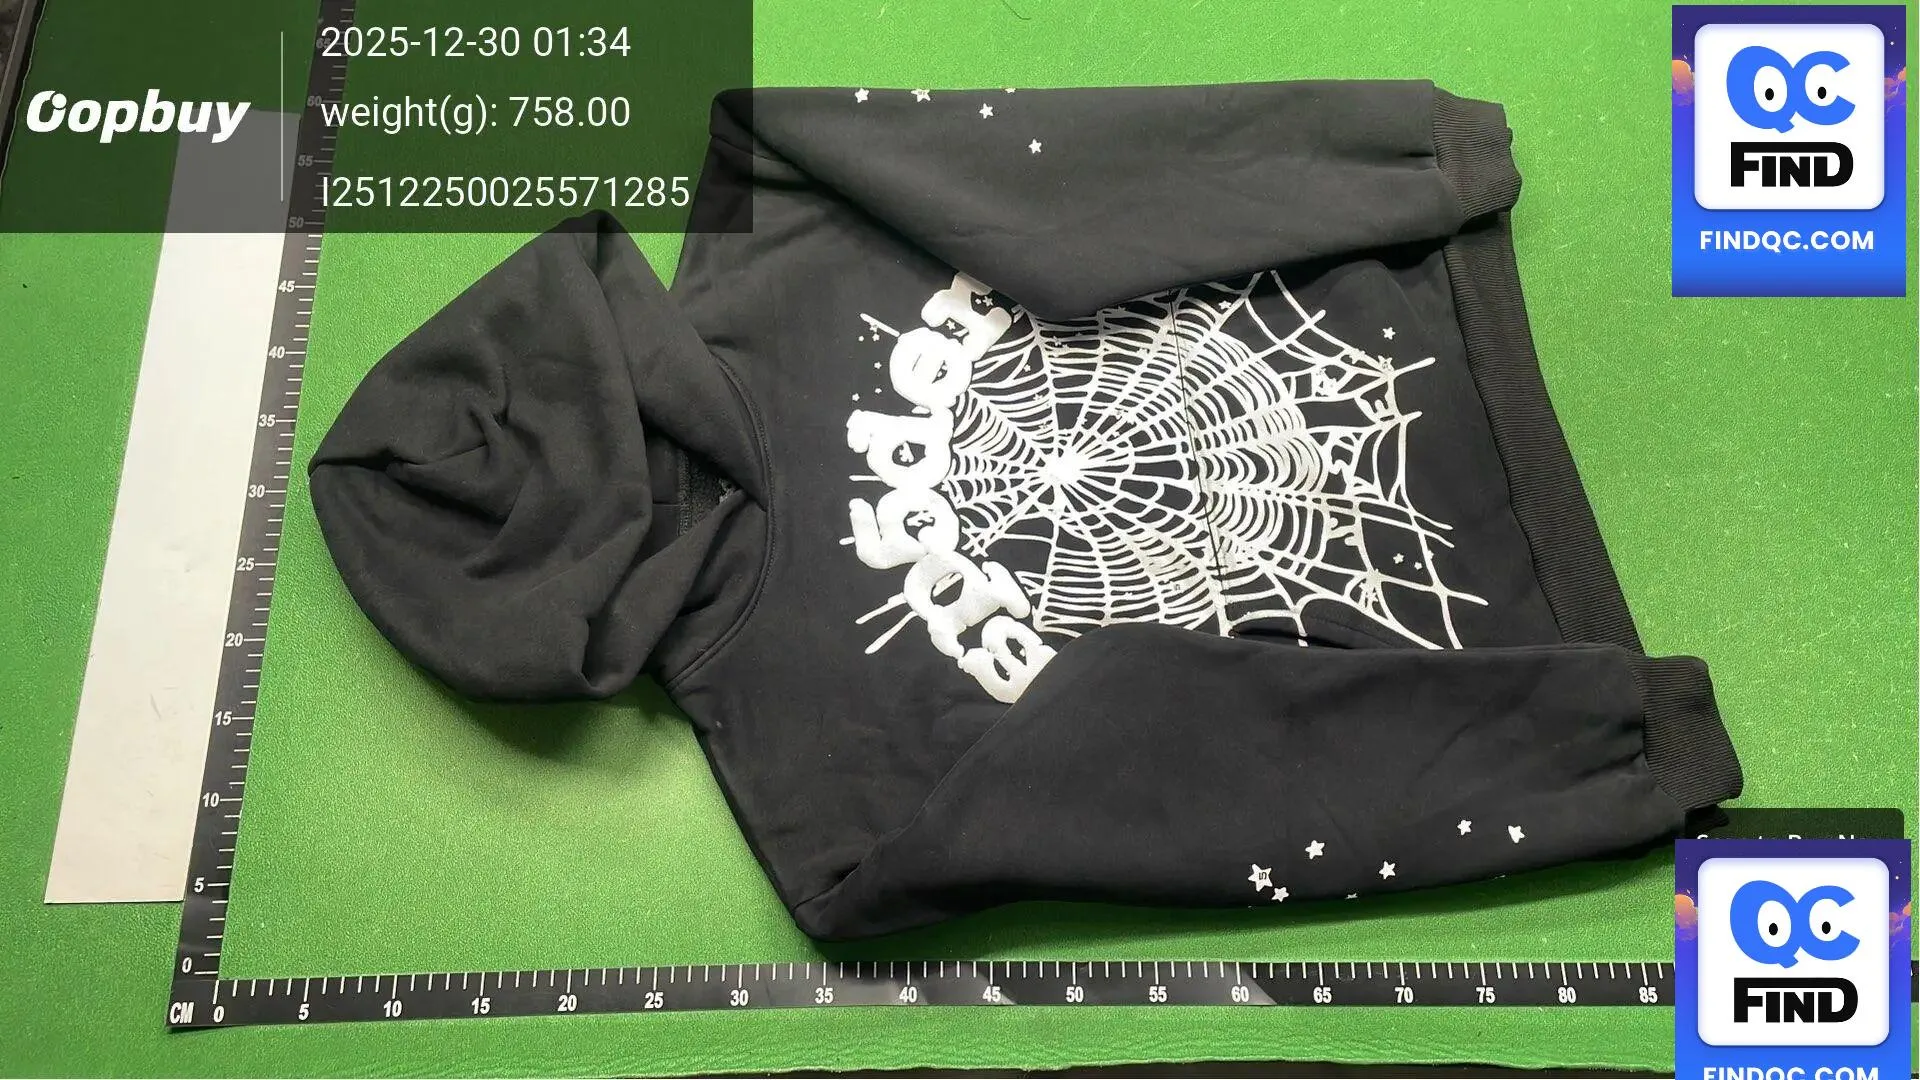
For pants, add waist, rise, inseam and leg-opening measurements. For jackets, check closures, pockets, lining where visible and symmetry at the shoulders. If a garment is folded, ask whether the hidden back or lower section contains anything that could affect your decision.
Bags and backpacks
A front photo is not enough for a bag. Look for the front, back, sides, base and interior. Check whether handles and straps are aligned, whether zippers sit evenly and whether visible hardware has inconsistent finish or damage.
Stress points deserve special attention: handle attachments, strap anchors, zipper ends and seams near loaded areas. For structured bags, compare the silhouette from both sides and look for crushing or deformation. Confirm approximate dimensions when the bag must fit a laptop or another fixed-size item.
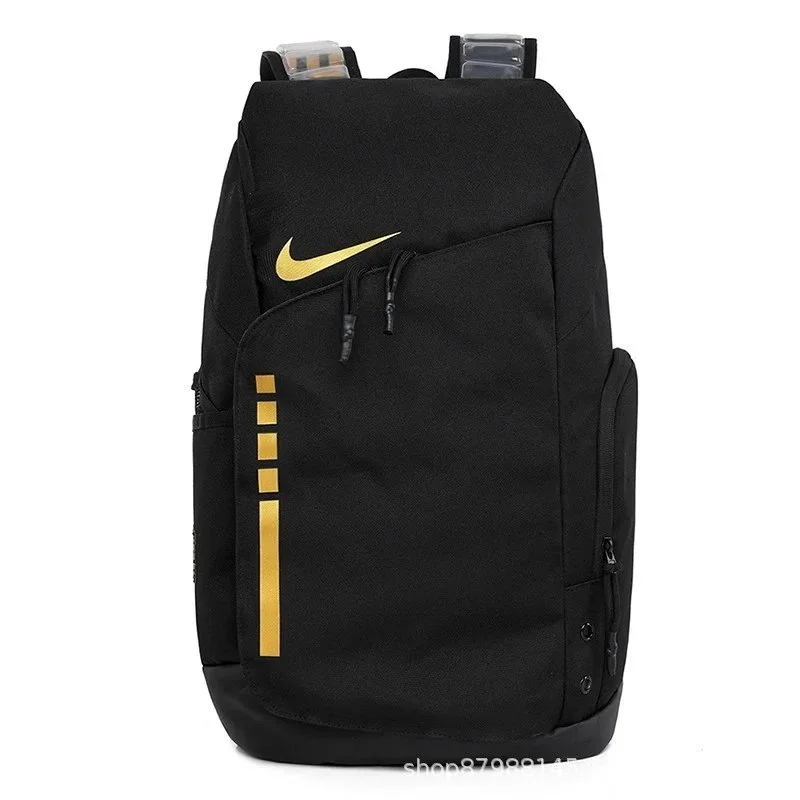
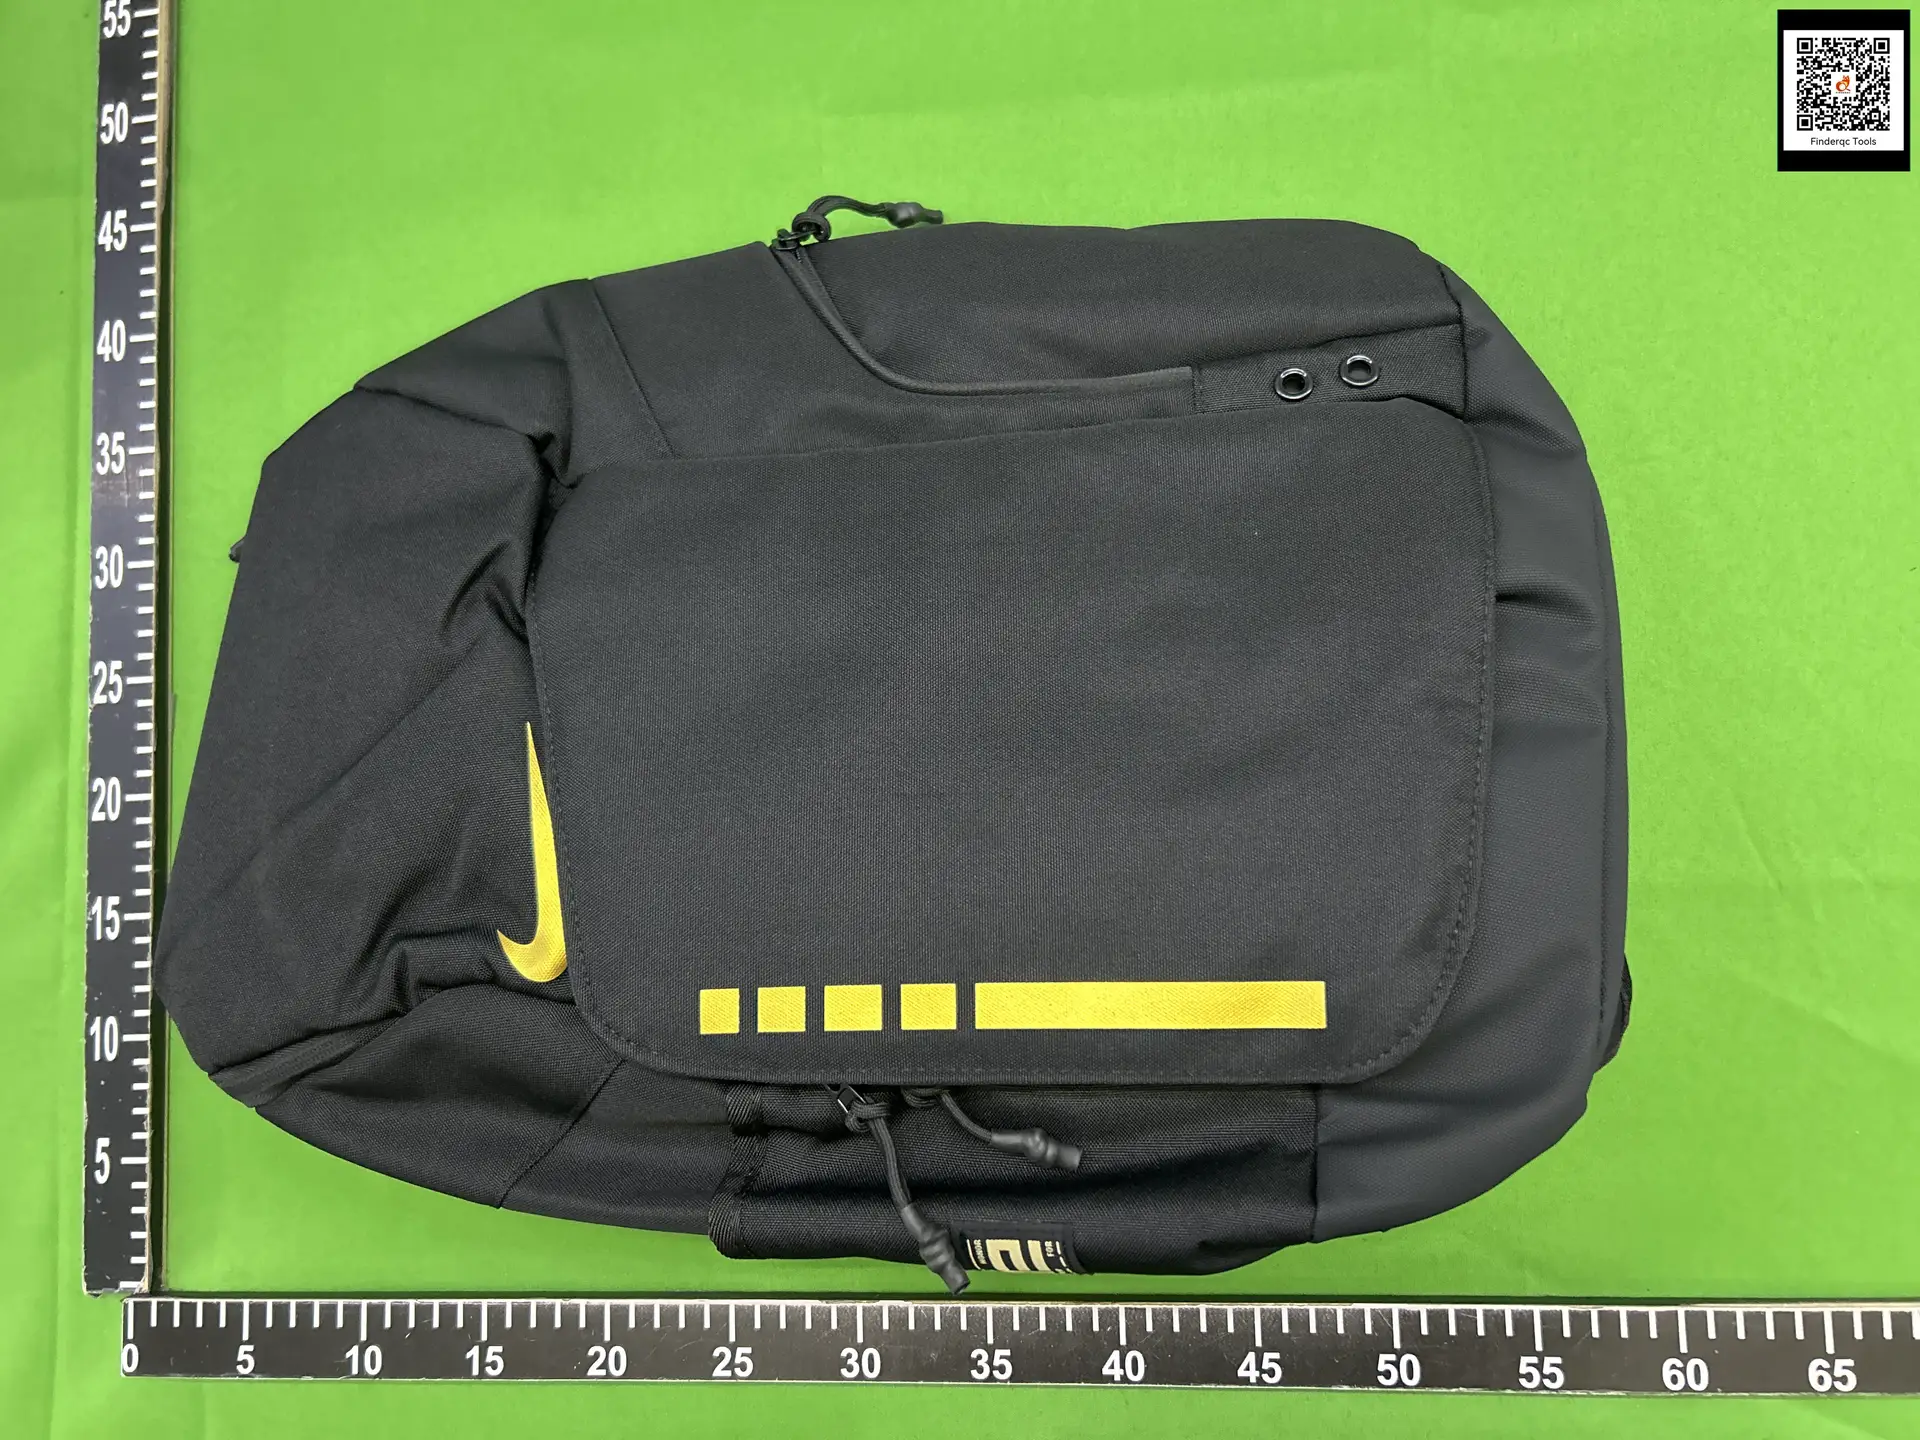
Packaging matters if the bag has rigid parts. If it appears compressed, decide whether shape recovery is likely or whether the risk is unacceptable; a photo alone may not settle that question.
Accessories, eyewear and watches
Small products need close-ups and scale. Confirm dimensions, fastening points, surface finish, moving parts and included pieces. Eyewear needs front alignment, hinge views, temple markings and lens condition. Watches need the dial, case sides, clasp, bracelet or strap and a size reference.
Reflective surfaces are difficult to judge because glare can hide scratches or create marks that are not present. Ask for another lighting angle when surface condition matters. QC photos do not test long-term movement accuracy, lens performance, water resistance or material composition.
How to request useful extra QC photos
If the standard warehouse inspection photos do not answer a decision-critical question, ask for one specific view or measurement. A request such as “take more photos” leaves the angle and purpose open to interpretation. A precise request names the product area, camera direction and measurement method.
| Product type | Weak request | More useful request |
|---|---|---|
| Shoes | “Show the shoe better” | “Photograph both heel tabs straight-on with the shoes level beside each other” |
| Hoodie or T-shirt | “Check the size” | “Lay the garment flat and measure chest width from armpit seam to armpit seam” |
| Pants | “Measure the pants” | “Measure waist across the top edge, inseam and leg opening with the tape visible” |
| Bag | “Show inside” | “Photograph the full interior, zipper ends and both strap attachment points” |
| Eyewear | “Check glasses” | “Show the frame straight-on on a flat surface, then photograph both hinges and temple markings” |
Keep requests short and observable. Warehouse staff can photograph a label, ruler placement or visible surface; they cannot reliably answer subjective prompts such as “is the quality good?” When several concerns exist, rank them. Request the one missing image most likely to change your decision first.
Measurements need a defined method. Garment width measured flat is not the same as body circumference, and an outsole measurement is not the same as usable insole length. State the start and end points you need. If the tape bends, floats above the item or begins away from zero, treat the number as approximate and request clarification when the difference matters.
Common Superbuy QC photo misreads
Warehouse inspection photos are evidence, but cameras introduce their own uncertainty. Check whether a suspected problem appears in more than one image before treating it as confirmed.
- Lighting mistaken for color mismatch: green mats, overhead lights and automatic white balance can shift dark or neutral colors. Compare multiple frames and focus on large differences, not a small tint change.
- Perspective mistaken for asymmetry: an item closer to the lens can appear larger. Look for a straight-on view or repeated misalignment across several angles.
- Folds mistaken for construction defects: soft clothing may look twisted or uneven when folded. A flat front and back view is more useful for symmetry.
- Compression mistaken for permanent damage: bags and padded clothing may arrive flattened. Check seams and structured parts separately, then decide whether shape recovery is an acceptable uncertainty.
- Glare mistaken for scratches: reflective hardware, watch crystals and lenses need a second lighting angle. One bright streak is not enough to confirm surface damage.
- Image sharpness mistaken for proof: a high-resolution photo can still omit the sole, lining, label or measurement you need. Completeness matters more than presentation.
A red flag is stronger when it is visible from more than one angle, conflicts with the saved order record, or affects a structural or functional area. A single ambiguous pixel or shadow should lead to clarification, not an unsupported claim.
Build a QC decision record
Keep a compact record for every warehouse item instead of re-opening photos from memory. This is especially useful when several products arrive on different days and will later be considered for one parcel.
| Record field | Example entry |
|---|---|
| Match result | Correct black color and size L label visible |
| Condition result | No visible stains; left cuff partly hidden |
| Measurements | Chest width 58 cm shown; length not shown |
| Missing evidence | Full back and garment length |
| Decision | Clarify before parcel submission |
| Next action | Request flat back photo with shoulder-to-hem measurement |
Use factual language. “Looks fine” is difficult to revisit; “correct option, no visible front damage, back not shown” preserves both the evidence and the uncertainty. Link the record to the product URL or order identifier so images from similar items are not mixed together.
Decide: ship, clarify or stop
| Decision | Evidence state | Recommended action |
|---|---|---|
| Continue | Correct variant; key views are clear; no decision-changing visible issue | Move to the size and shipping checklist |
| Clarify | Product may be acceptable, but one important view or measurement is missing | Request or find the exact missing evidence |
| Stop | Wrong variant, obvious damage, strong construction concern or conflicting record | Do not rely on the spreadsheet card; investigate options available through the current service |
Do not use a minor, harmless variation as a reason to request endless photos. Define the decision-critical details in advance, then focus on those. Equally, do not approve because returning to the page feels inconvenient.
If the item is not ready, preserve the relevant screenshots and follow the warehouse return and refund checklist. If it passes, mark it ready in the warehouse storage and parcel consolidation checklist before estimating the final parcel.
What QC photos cannot prove
Photos cannot reliably prove authenticity, exact fiber or material composition, comfort, odor, long-term durability, electronic performance or what happens after repeated use. They also cannot reveal areas that are not photographed.
Color may shift with lighting, white balance and screen settings. Perspective can exaggerate asymmetry. A ruler may be angled or placed differently from the measurement method you expect. Use several pieces of evidence and label uncertainty rather than converting an unclear image into a confident claim.
This site uses QC images as editorial context. “QC available” means there is visible material to review; it does not mean our team has certified, authenticated or guaranteed the product.
Frequently asked questions
How many QC photos are enough?
There is no universal number. The set is enough when it shows the exact variant, overall condition and every detail that could change your decision. A simple accessory may need fewer views than a structured bag or printed garment.
Should I request extra QC photos?
Request a specific photo when an important area is hidden or a measurement is missing. “More photos” is less useful than “show the outsole,” “measure chest width seam to seam” or “show the bag interior and zipper ends.”
What if the Superbuy QC photos are blurry or too far away?
Do not treat an unreadable label or hidden surface as a pass. Identify the exact decision the image cannot support and request a closer, straight-on view of that area. If the missing evidence would not change your decision, record the uncertainty rather than requesting photos without a purpose.
What if the warehouse photo shows the wrong size or color?
Compare it with the saved order option and visible label before concluding there is a mismatch. If the evidence conflicts, keep screenshots of the selected variant and QC photo, then use the current order’s available clarification or after-sales path before parcel submission.
Are Superbuy warehouse inspection photos the same as seller listing photos?
No. Listing photos describe the offered product; warehouse photos document the visible item received for an order. Review them side by side, but do not expect identical lighting, styling or camera perspective.
Can QC photos confirm authenticity?
No. Photos can document visible features, but they are not a reliable authentication service. Avoid treating logos, labels or packaging in a warehouse image as proof.
What should I do after the QC check?
Use the shipping and size checklist to confirm measurements, packaging preferences and parcel-cost variables before international shipping.
This checklist is based on direct comparison of listing images with warehouse inspection photos shown in our product records. Current warehouse-photo options and service rules can change; consult the official Superbuy website before relying on a specific feature. The examples above are visual research aids, not authenticity claims.